
The Crochet Car Amigurumi Pattern is an engaging DIY project to create a unique, handcrafted car. Easy for craft enthusiasts, the pattern is well-detailed and exciting. Make your own car amigurumi as a gift or an interesting accessory for your home.

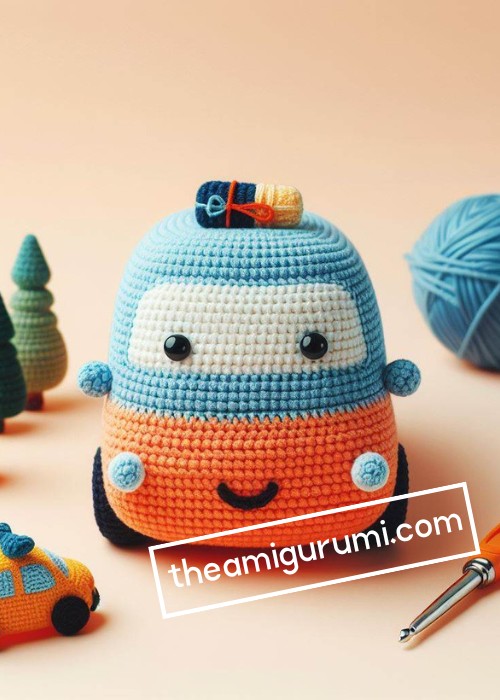
Crochet Car Amigurumi Pattern
The Crochet Car Amigurumi Pattern offers a detailed guide to creating a fantastical toy car. With its bold colors and captivating features like rounded wheels, a distinct bonnet, and defined windows, it’s designed to ignite imaginations. This amigurumi pattern provides thorough steps, handling each part of the car's construction to ensure a smooth crafting experience for both novice and advanced crochet enthusiasts.

Making Your Crochet Car Amigurumi
Materials:
- Yarn:
- Red yarn for the body of the car
- Black yarn for the wheels and details
- White yarn for the headlights and license plate
- Gray yarn for the seats (optional)
- Small amounts of yellow and orange yarn for the turn signals and brake lights (optional)
- You can also use any other colors you like for the car
- Crochet hook: Size suitable for your yarn weight (3.5mm recommended for worsted weight yarn)
- Safety eyes (optional)
- Fiberfill for stuffing
- Tapestry needle
- Scissors
Step by steps Pattern
Body:
- Start with red yarn and make a magic ring.
- Crochet 6 single crochets (sc) into the ring. Tighten the ring closed.
- Rounds 2-9: Increase in each stitch around (12 sc, 18 sc, 24 sc, 30 sc, 36 sc, 42 sc, 48 sc, 54 sc).
- Rounds 10-13: Sc in each stitch around (54 sc).
- Shape the hood:
- Decrease in the first 6 stitches, sc in the next 36 stitches, decrease in the last 6 stitches (48 sc).
- Rounds 15-16: Sc in each stitch around (48 sc).**
- Decrease in the first 5 stitches, sc in the next 32 stitches, decrease in the last 5 stitches (42 sc).
- Round 17: Sc in each stitch around (42 sc).**
- Decrease in the first 4 stitches, sc in the next 28 stitches, decrease in the last 4 stitches (38 sc).
- Round 18: Sc in each stitch around (38 sc).**
- Decrease in the first 3 stitches, sc in the next 24 stitches, decrease in the last 3 stitches (34 sc).
- Round 19: Sc in each stitch around (34 sc).**
- Stuff the body firmly.
- Rounds 20-21: Decrease in each stitch around (28 sc, 22 sc).
- Fasten off and weave in ends.
Wheels (make 4):
- With black yarn, make a magic ring.
- Crochet 6 sc into the ring. Tighten the ring closed.
- Round 2: Increase in each stitch around (12 sc).
- Rounds 3-5: Sc in each stitch around (12 sc).
- Stuff the wheels lightly.
- Fasten off and weave in ends.
Details:
- Headlights: With white yarn, crochet small circles and sew them onto the front of the car.
- License plate: With white yarn, crochet a small rectangle and embroider a license plate number on it. Sew it onto the back of the car.
- Seats (optional): With gray yarn, crochet small rectangles and sew them into the car for seats.
- Turn signals and brake lights (optional): With yellow and orange yarn, crochet small circles and sew them onto the car for turn signals and brake lights.
Assembly:
- Sew the wheels to the bottom of the car.
- Sew on the safety eyes (optional).
- Embroider any other details you like, such as a grill, door handles, or windows.

More Crochet Car Amigurumi Ideas
Explore the delightful process of transforming yarn into adorable toy cars using a crochet hook. Whether you're inspired to make a classic blue car, a cute princess-themed ride, or even a soft toy version of a nifty sports car, we have got you covered. These Crochet Car Amigurumi Free Patterns are simple guides that help you create little yarn cars step by step with your own hands. Each pattern is your roadmap to crafting a cuddly companion, from picking the perfect colors to stitching the pieces together. They are like a wonderful adventure for anyone who loves to crochet whether you're just starting or have been hooking for years.
Crochet Amigurumi Car Pattern
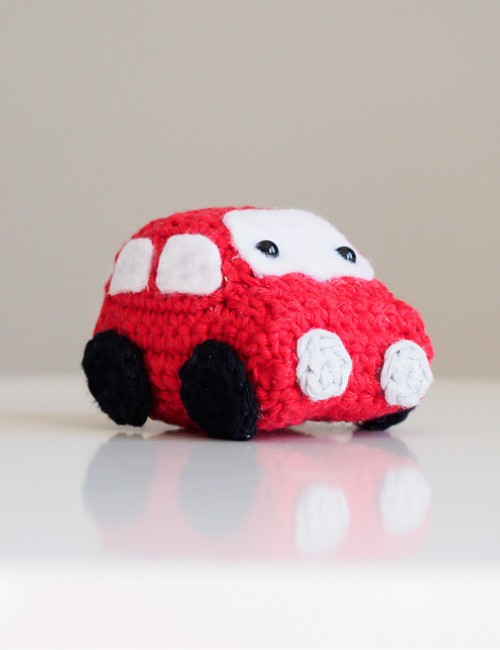
Follow this fun crochet amigurumi car pattern to create a delightful Snow White Princess amigurumi. The car pattern showcases essential crochet techniques. Such as basic stitches, increases, and decreases can be adapted to form the princess's shape. For Snow White, you'd pick colors that match her classic dress and use black yarn for her hair. Just as the car pattern may require additional materials like felt for detailing, you'd gather similar supplies to fashion Snow White's unique features. Such as her bow and apple. The car pattern has detailed instructions to ensure your Snow White amigurumi is successful. The creative process of adapting this inspiration to a fairy tale character will add a charming twist to your crochet adventure.
Crochet Toy Car Pattern
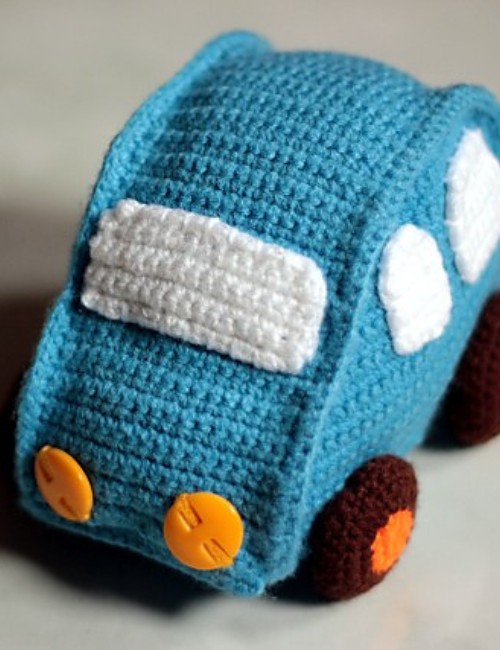
Create a crochet toy car with this intriguing project. It involves crocheting a soft, 3D car. Use light fingering yarn, like Monaco Acrylic Fingering, and a 2.0 mm crochet hook to get the correct size and stiffness. You need basic crochet skills for this, like working flat and joining pieces together. A written pattern guides you through each step. Based on pattern reviews, it's moderately difficult. It makes a great homemade gift for kids or car fans.
Crochet Little Blue Car Pattern
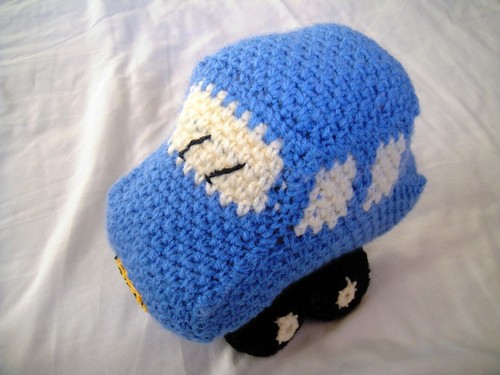
The Crochet Little Blue Car Pattern, designed, is a charming project that's both simple and satisfying to make. This pattern guides crocheters in creating a playful car toy approximately 20 cm long using DK yarn and a 4.0 mm (G) crochet hook. The design is straightforward, requiring basic crochet techniques and some patience. You'll need yarn in three colors: white for the windows, black for the wheels, and any color you choose for the car's body. Alongside the yarn and hook, a yarn needle and some stuffing are necessary to bring your little car to life.


Leave a Reply