
The Crochet Daffy Duck Amigurumi is a lovingly handcrafted item, great for Looney Tunes' fans. Detailed and colorful, it captures Daffy's lively spirit in a soft, tactile format, making it an adorable keepsake.

Crochet Daffy Duck Amigurumi
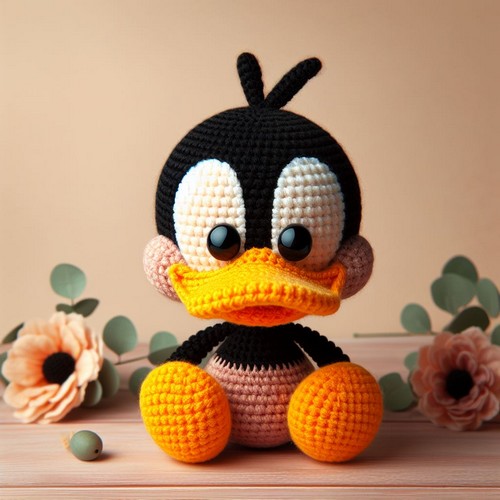
The Crochet Daffy Duck Amigurumi is a cute recreation of the classic Looney Tunes character. This pattern creates a plush toy with Daffy's black feathery body, oversized orange beak, and big expressive eyes. A white neck ring and webbed feet complete the look, making a huggable and nostalgic item for both kids and collectors who love this sassy duck.
Making Your Crochet Daffy Duck Amigurumi
Materials:
- Sport weight yarn in black, white, orange, yellow, and green
- Crochet hook (size appropriate for your yarn weight)
- Fiberfill
- Tapestry needle
- Black embroidery floss
- Scissors

Step by step Pattern
Instructions:
- Start by crocheting the body. The pattern uses black yarn for the body, but you can use any color you like. To make the body, crochet a magic ring and then crochet 6 single crochets (sc) into the ring. Tighten the ring and continue crocheting in a spiral.
- Increase 6 stitches evenly around (12 sc).
- Continue crocheting in a spiral, increasing 6 stitches evenly around every other round until you have a total of 54 stitches.
- Switch to orange yarn. Crochet 2 rounds without increasing.
- Stuff the body firmly with fiberfill.
- Continue crocheting in orange yarn, decreasing 6 stitches evenly around every other round until you have 24 stitches remaining.
- Fasten off and weave in the ends.
Next, you'll crochet the head. The pattern uses white yarn for the head, but you can use any color you like.
- Make a magic ring and crochet 6 sc into the ring. Tighten the ring and continue crocheting in a spiral.
- Increase 6 stitches evenly around (12 sc).
- Continue crocheting in a spiral, increasing 6 stitches evenly around every other round until you have a total of 30 stitches.
- Stuff the head firmly with fiberfill.
- Continue crocheting, decreasing 6 stitches evenly around every other round until you have 12 stitches remaining.
- Fasten off and weave in the ends.
You can start on the beak once you have the body and head crocheted. The pattern uses yellow yarn for the beak, but you can use any color you like.
- Make a chain of 18 stitches. Join the ends into a ring with a slip stitch.
- Sc in each stitch around the ring.
- Continue crocheting in rounds, increasing 1 stitch at the beginning of each round until you have a total of 25 stitches.
- Work 2 rounds without increasing.
- Stuff the beak lightly with fiberfill.
- Decrease 1 stitch at the beginning of each round until you have 5 stitches remaining.
- Fasten off and weave in the ends.
The last step is to crochet the legs and feet. The pattern uses green yarn for the legs and feet, but you can use any color you like.
- Make a chain of 15 stitches. Join the ends into a ring with a slip stitch.
- Sc in each stitch around the ring.
- Increase 6 stitches evenly around (21 sc).
- Continue crocheting in rounds without increasing for 8 rounds.
- Stuff the legs lightly with fiberfill.
- Decrease 3 stitches evenly around (18 sc).
- Continue crocheting in rounds, decreasing 3 stitches evenly around every other round until you have 6 stitches remaining.
- Fasten off and weave in the ends.
Assembly:
- Sew the head to the body.
- Sew the beak to the head.
- Sew the legs to the body.
- Embroider the eyes with black embroidery floss.


Leave a Reply