
The Crochet Ladybug Amigurumi Pattern is an engaging, accessible guide for crafting fans. Ideal for making delightful, plush ladybugs, it outlines each step with comprehensible instructions. Dive into making these enchanting toy ladybugs with this specialized pattern.
Crochet Ladybug Amigurumi Free Pattern
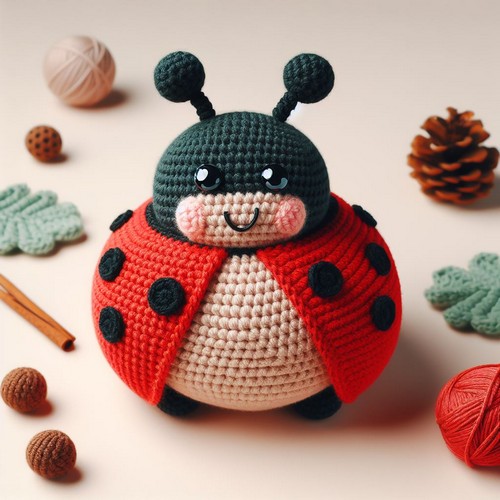
The Crochet Ladybug Amigurumi Pattern is a charming crochet guide that produces an adorable, hand-crafted ladybug soft toy. Highlighted by its spherical body, dotted back, sweet facial features, and cute antennae, the pattern is designed for all crochet skill levels. The end product makes an endearing decor item or toy, bringing a splash of color and handmade charm to any space.
Making Your Crochet Ladybug Amigurumi
Materials:
- Red worsted-weight yarn
- Black worsted-weight yarn
- 6mm crochet hook
- Polyester stuffing
- Black safety eyes (6mm)
- Yarn needle

Step by step Pattern
Body:
- Start with the red yarn and make a magic ring.
- Crochet 6 single crochets (sc) into the ring.
- Increase in each stitch around (12 sc).
- Continue crocheting around in sc, increasing 6 stitches evenly spaced every other round until you have 36 sc.
- Place a marker at the start of the round.
- Continue crocheting in SC without increasing until the body measures about 2.5 inches in diameter.
- Start stuffing the body as you crochet.
- Decrease by crocheting two sc together at the end of each round.
- Continue decreasing until you have only 6 sc remaining.
- Stuff the body firmly and close the hole by crocheting the remaining stitches together.
Head:
- Attach the red yarn to the top of the body.
- Make 6 sc in a magic ring.
- Increase in each stitch around (12 sc).
- Continue crocheting in sc, increasing 6 stitches evenly spaced every other round until you have 24 sc.
- Place a marker at the start of the round.
- Continue crocheting in SC without increasing until the head measures about 2 inches in diameter.
- Start stuffing the head as you crochet.
- Decrease by crocheting two sc together at the end of each round.
- Continue decreasing until you have only 6 sc remaining.
- Stuff the head firmly and close the hole by crocheting the remaining stitches together.
Spots:
- Using the black yarn, make 6 circles by crocheting 6 sc in a magic ring, then closing the hole by crocheting two sc together.
- Sew the black circles onto the back of the ladybug, evenly spaced.
Assembly:
- Sew the safety eyes to the face.
- Using black embroidery floss, embroider a small smile on the face (optional).
Tips:
- You can adjust the size of the ladybug by using a different yarn weight or crochet hook size.
- Be sure to stuff the ladybug firmly so that it keeps its shape.
- You can add other details to your ladybug, such as antennae or legs.


Leave a Reply