
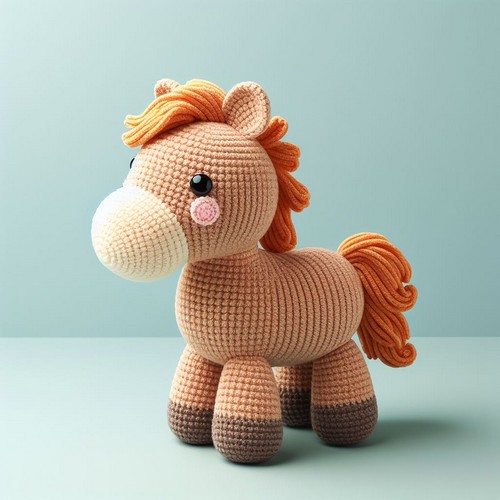
The Crochet Happy Horse Amigurumi Pattern is a straightforward guide to creating a cheerful horse toy. It is great for any crochet enthusiast and ensures a fun crafting time, ending with a jolly horse plushie.
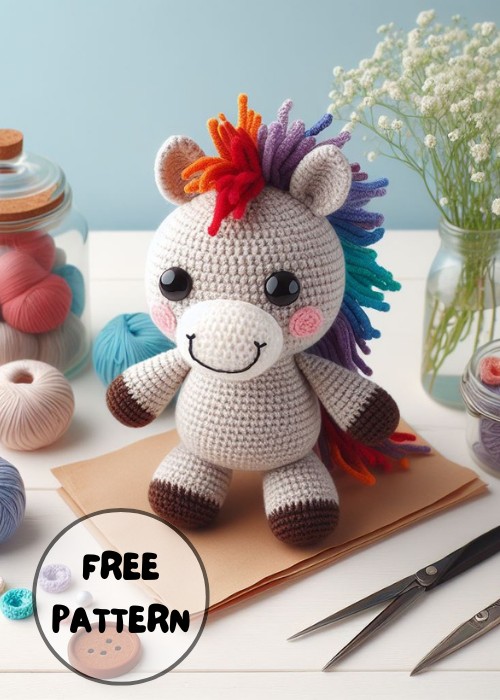
Crochet Happy Horse Amigurumi Pattern
The Crochet Happy Horse Amigurumi Pattern is a delightful guide to creating a lovable horse toy. This attractive pattern displays a cheerful horse with sparkly eyes, a flowing mane, and a bushy tail. Suitable for crocheters from beginner to advanced, Happy Horse Amigurumi adds a touch of equestrian charm to your collection of hand-stitched crochet treasures.

Making the Crochet Happy Horse Amigurumi
Materials:
- Yarn:
- worsted-weight yarn in brown, white, and a rainbow of colors for the mane and tail
- small amount of black yarn for the eyes
- Crochet hook: H (8 mm)
- Stuffing: Polyester fiberfill
- Tapestry needle: For sewing
- Safety eyes: 12mm
- Scissors:
- Stitch markers: 3

Step by step Pattern
Body:
- Start with the legs and body. Make a magic ring with brown yarn and crochet 6 single crochets (sc) in the ring. Slip stitch (sl st) to join.
- Increase 6 stitches evenly around. There should be 12 stitches in total.
- Continue crocheting in a spiral, increasing 6 stitches evenly around every other round. Work a total of 16 rounds.
- Stuff the legs and body firmly.
- Shape the neck. Crochet 6 rows without increasing.
- Decrease 6 stitches evenly around. There should be 102 stitches in total.
- Continue crocheting in a spiral, decreasing 6 stitches evenly around every 2 rounds until there are 36 stitches total.
Head:
- Make a magic ring with white yarn and crochet 6 sc in the ring. Sl st to join.
- Increase 6 stitches evenly around. There should be 12 stitches in total.
- Continue crocheting in a spiral, increasing 6 stitches evenly around every other round until there are 30 stitches total.
- Change to brown yarn. Work 2 rounds without increasing.
- Shape the face. Decrease 6 stitches evenly around. There should be 24 stitches in total.
- Continue crocheting in a spiral, decreasing 3 stitches evenly around every round until there are 6 stitches total.
- Stuff the head firmly.
- Decrease 3 stitches to close the head. Fasten off and weave in the ends.
Ears:
- Make 2 identical ears. Make a magic ring with brown yarn and crochet 6 sc in the ring. Sl st to join.
- Increase 6 stitches evenly around. There should be 12 stitches in total.
- Work 4 rounds without increasing.
- Shape the ear. Decrease 2 stitches, sc 2, decrease 2 stitches. There should be 8 stitches in total.
- Decrease 1 stitch, sc 2, decrease 1 stitch. There should be 6 stitches in total.
- Decrease 2 stitches, sc 2, decrease 2 stitches. There should be 4 stitches in total.
- Decrease 2 stitches, sc 2. There should be 2 stitches in total.
- Fasten off and weave in the ends.
Mane and tail:
- Make the mane. Cut several pieces of yarn in various colors, each about 6 inches long. Fold the pieces in half and loop them evenly spaced on the back of the horse's head. Secure with a knot or a few stitches.
- Make the tail. Cut a piece of brown yarn about 12 inches long. Fold it in half and loop it onto the back of the horse, where the legs meet the body. Secure with a knot or a few stitches. Braid the yarn and tie off the end.
Assembly:
- Attach the head to the body. Sew the head to the neck, positioning the seam at the back.
- Attach the ears. Sew the ears to the top of the head, positioning them evenly.
- Attach the eyes. Sew the safety eyes to the face.
- Embroider the nostrils. Use black yarn to embroider 2 small dots for the nostrils.
The Happy Horse Amigurumi is complete!
Here are some tips for crocheting the Happy Horse Amigurumi:
- Use a yarn needle to weave in the ends of your yarn as you go.
- Stuff the horse firmly so it keeps its shape.
- Pay attention to the stitch counts to ensure your horse is the right size.
- Have fun and be creative! You can customize your horse using different yarn colors, adding accessories, or changing the size.


Leave a Reply