
Create a Fish Flounder amigurumi with this crochet pattern! Easy steps yield a charming sea creature toy. Ideal for kids, sea life enthusiasts, or as a delightful addition to a collection of fun creations.
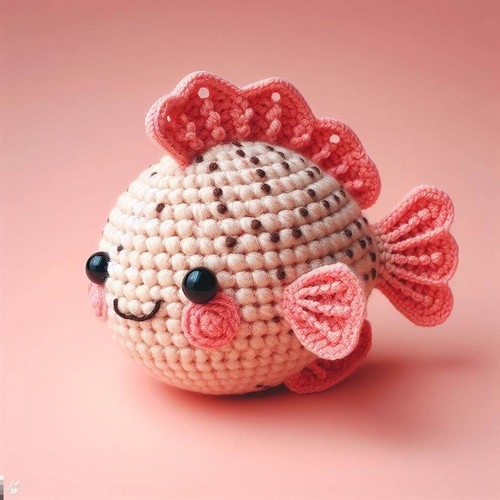
Crochet Fish Flounder Amigurumi Pattern
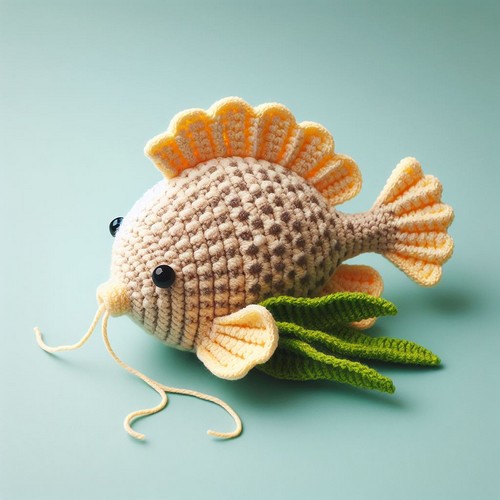
The Crochet Fish Flounder Amigurumi Pattern helps you create an endearing flounder plushie. With its eye-catching flat-body shape and a vibrant array of colors, this design showcases a lovable crochet fish. The pattern covers details such as the body, fins, and facial features. Ideal for gifting or as a playful piece of home decor, this crochet project brings the underwater world to life in a charming and crafty way.

Making The Crochet Fish Flounder Amigurumi
Materials:
- DK weight yarn in yellow, orange, brown, black, and white
- 3.5mm crochet hook
- 9mm safety eyes
- Polyester stuffing
- Yarn needle
- Sewing thread
- Embroidery needle

Step-by-step pattern
Body:
- Start with the yellow yarn by making a magic ring.
- Crochet 6 single crochets (sc) into the ring.
- Increase in each stitch around (12 sc).
- Continue crocheting around in sc, increasing 6 stitches evenly spaced every other round until you have 36 sc.
- Place a marker at the start of the round.
- Continue crocheting in sc without increasing until the body measures about 4 inches in diameter.
- Start stuffing the body as you crochet.
- Decrease by crocheting two sc together at the end of each round.
- Continue decreasing until you have only 6 sc remaining.
- Stuff the body firmly and close the hole by crocheting the remaining stitches together.
Tail:
- Attach the orange yarn to the back of the body at the base of the tail.
- Make a chain of 10 sc.
- Turn and sc in each stitch across.
- Repeat row 3 until the tail is the desired length.
- Decrease by crocheting two sc together at the end of each round.
- Continue decreasing until you have only 2 sc remaining.
- Close the hole by crocheting the remaining stitches together.
Eyes:
- Sew the safety eyes to the face, about ½ inch apart.
Mouth:
- Using black embroidery thread, embroider a small smile on the face.
Dorsal fin:
- Attach the brown yarn to the back of the body, near the top.
- Make a chain of 15 sc.
- Turn and sc in each stitch across.
- Repeat row 3 until the fin is the desired size.
- Sew the base of the fin to the body.
Pectoral fins:
- Make 2 identical fins by crocheting a chain of 8 sc in brown yarn.
- Turn and sc in each stitch across.
- Chain 2 and turn. Sc in each stitch across, decreasing at the beginning and end of the row.
- Repeat row 3 until you have 2 sc remaining.
- Close the hole by crocheting the remaining stitches together.
- Sew the fins to the sides of the body, near the head.
Pelvic fins:
- Make 2 identical fins by crocheting a chain of 6 sc in brown yarn.
- Turn and sc in each stitch across.
- Chain 2 and turn. Sc in each stitch across, decreasing at the beginning and end of the row.
- Repeat row 3 until you have 2 sc remaining.
- Close the hole by crocheting the remaining stitches together.
- Sew the fins to the underside of the body, near the tail.
Assembly:
- Add any other desired details, such as spots or stripes.
Tips:
- You can use different colors of yarn for the body, tail, eyes, mouth, fins, and spots.
- Be sure to stuff the flounder firmly so that it keeps its shape.
- You can add other details to your flounder, such as eyebrows, eyelashes, and gills.


Leave a Reply