
Create a magical Fairy Doll amigurumi with this crochet pattern! The use of simple stitches results in a whimsical, soft toy. It's a perfect gift for doll or fairy enthusiasts, or a unique addition to any collection.
Crochet Fairy Doll Amigurumi Pattern
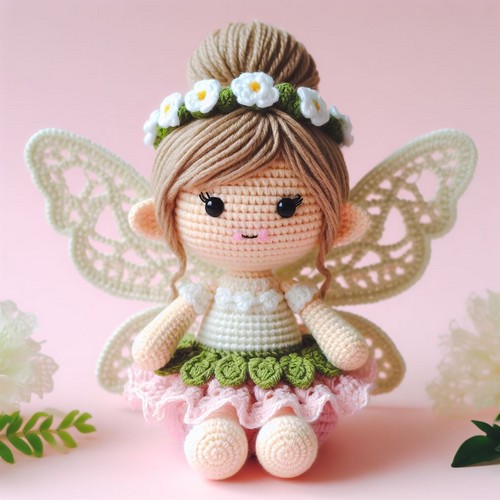
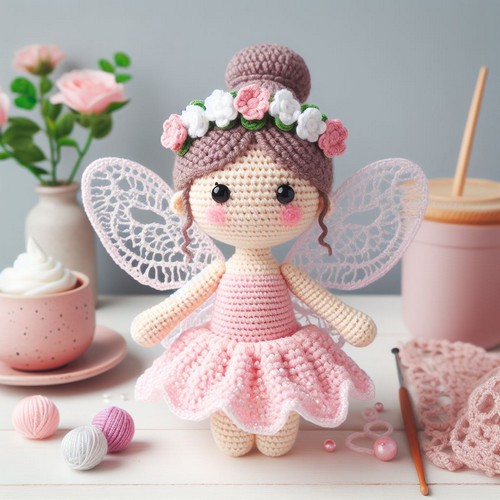
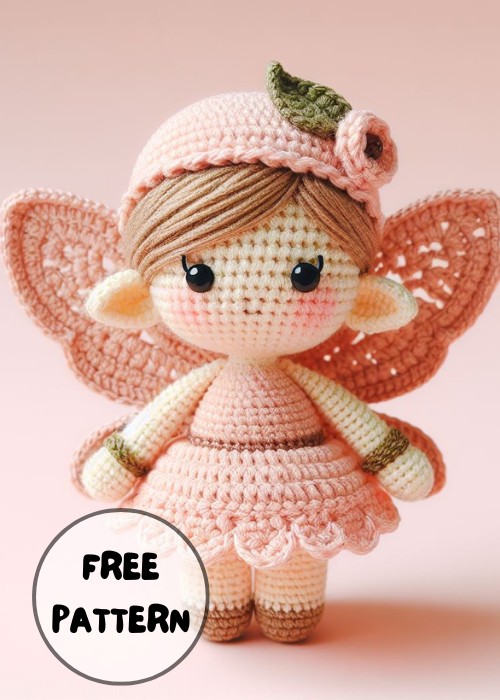
The Crochet Fairy Doll Amigurumi Pattern is designed to conjure up a magical fairy doll. With delicate wings, a charming dress styled with various yarn hues, and lovely facial features, this pattern transforms simple materials into a whimsical creation. The amigurumi pattern covers all elements like the body, wings, outfit, and hair. Ideal for gifting or enchanting home decor, this project brings fairytale magic to your crochet collection.
Making The Crochet Fairy Doll Amigurumi
Materials Needed:
- Crochet hook, appropriate to your yarn's weight
- Yarn in desired colors
- Fiberfill (stuffing material)
- Safety eyes or yarn for the eyes
- Yarn needle
- Scissors

Step-by-step pattern
1. Head and Body
The head and body of the fairy doll are typically created as one piece, starting at the top of the head and ending at the base of the body. Begin by creating a magic ring, and then continue with rounds of increase to shape the head, decrease for the neck, increase again for body width and then follow with straight rounds until desired length is achieved.
2. Arms (Make 2)
To make the arms of the doll, begin with a magic ring and continue with rounds of increase until you reach the desired width. Then, crochet straight rounds until the arm reaches your preferred length.
3. Legs (Make 2)
The legs are also made, starting with a magic ring. Increase rounds for width, and then crochet straight rounds for length. If you want the fairy to have boots or shoes, change your yarn color near the end of these rounds.
4. Wings (Make 2)
The wings can be made in different ways depending on your pattern. A simple way would involve chaining a number of stitches and then making several tr (treble) stitches into one stitch to give the wings a fan shape.
5. Assembly
All pieces can now be sewn together using the yarn needle.
6. Face and Hair
Use safety eyes or sew the eyes with yarn. You can crochet a cap-like structure for the hair or attach individual strands of yarn.


Leave a Reply