
Crochet Tiger Amigurumi Pattern Free provides a straightforward, no-cost method to craft an adorable tiger toy with crochet. Excellent for crocheters at all skill levels.

Crochet Tiger Amigurumi Pattern
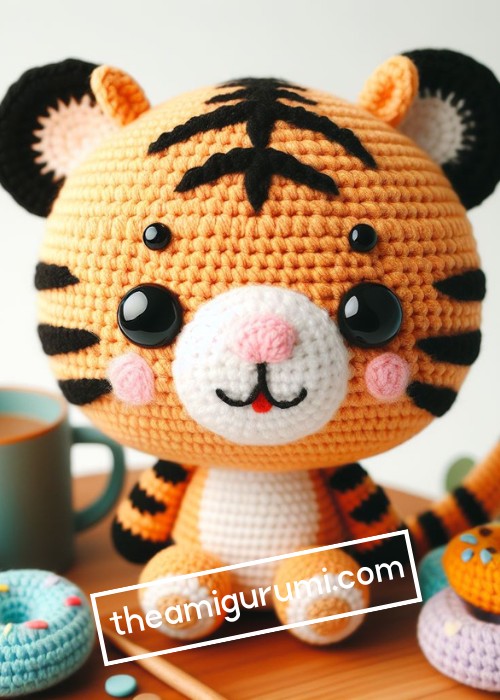
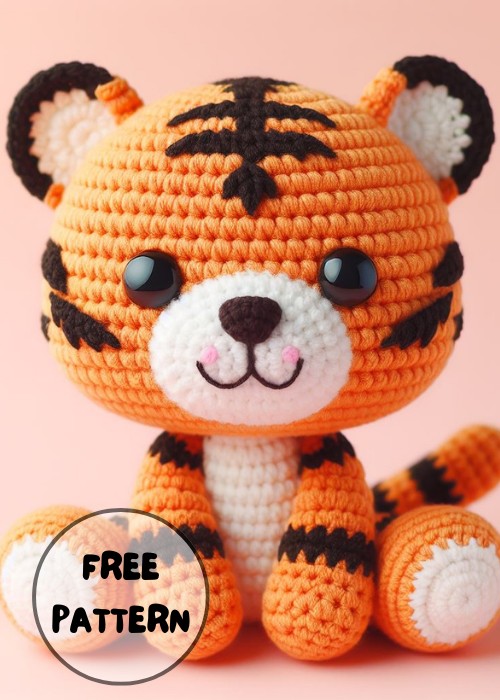
The Crochet Cute Tiger Amigurumi Pattern Free captures an enchanting cutesy tiger. It is made using basic stitches that construct a tubby, soft outline. It features adorable, glassy eyes, a darling snout, and pointy little ears. Stitches of bright orange and black define its conventional tiger stripes. The amigurumi pattern is completed with a cute, curvy tail. Its cuddly design and fuzzy texture invite warm hugs and safe playtime.

Making the Crochet Cute Tiger Amigurumi
Materials:
- worsted weight yarn in orange, white, black, and pink
- 4.0 mm crochet hook
- safety eyes
- tapestry needle
- stuffing
- stitch marker
Step by step Pattern
Body:
- Start with orange yarn and make a magic ring.
- Chain 6 and slip stitch to join, forming a circle.
- Crochet 12 single crochets into the ring.
- Increase in each stitch around (24 stitches).
- Crochet 6 rounds without increasing.
- Place a stitch marker and start stuffing the body firmly.
- Continue crocheting in rounds without increasing until the body is the desired length.
- Finish off and weave in ends.
Head:
- With orange yarn, make a magic ring and chain 6.
- Slip stitch to join, forming a circle.
- Crochet 12 single crochets into the ring.
- Increase in each stitch around (24 stitches).
- Crochet 4 rounds without increasing.
- Place a stitch marker and start stuffing the head firmly.
- Crochet 5 more rounds without increasing.
- Decrease by crocheting two single crochets together (18 stitches).
- Decrease by crocheting two single crochets together (12 stitches).
- Finish off and weave in ends.
Ears:
- With orange yarn, chain 8.
- Single crochet back down the chain.
- Fold the chain in half and slip-stitch the two sides together to form a triangle.
- Repeat steps 1-3 to make a second ear.
Legs (make 4):
- With orange yarn, chain 6.
- Single crochet back down the chain.
- Continue crocheting in rounds, increasing at the beginning of each round until you have 12 stitches.
- Crochet 6 rounds without increasing.
- Stuff the leg firmly.
- Decrease by crocheting two single crochets together (6 stitches).
- Finish off and weave in ends.
Tail:
- With orange yarn, chain 18.
- Single crochet back down the chain.
- Stuff the tail lightly.
- Finish off and weave in ends.
Assembly:
- Sew the ears to the top of the head, positioning them evenly spaced apart.
- Embroider two small circles for the eyes with black yarn.
- Sew on the safety eyes.
- Embroider a small triangle for the nose with pink yarn.
- Sew the head to the body.
- Sew the legs to the body, two on each side.
- Sew the tail to the back of the body.
Your tiger is finished!
Tips:
- You can use different yarn colors to make your tiger any color you like.
- If you are making the amigurumi for a child, you can use safety eyes instead of embroidering the eyes.
- Be creative and have fun! There are no hard and fast rules when it comes to crocheting amigurumi.
Here are some additional tips for crocheting amigurumi:
- A small crochet hook (size 2.75mm or 3mm) creates a tight amigurumi fabric.
- Stuff the amigurumi firmly as you go to prevent it from being floppy.
- Be careful not to overstuff the amigurumi, as this can make it difficult to sew the pieces together.
- Use a yarn needle to weave in the ends of your yarn.
- When sewing the pieces together, use a small stitch and make sure the seams are hidden.
- Have fun and be creative! There are endless possibilities when it comes to crocheting amigurumi.


Leave a Reply