
Stitch up some holiday cheer with our Crochet Gingerbread Cookie Plushie pattern - perfect for festive decor or a cute handmade gift!
This charming project offers an excellent way to add a personal touch to your festive decorations or to make heartfelt, handmade gifts for loved ones. With clear instructions and easy-to-follow steps, both beginners and seasoned crocheters will find joy in stitching up these adorable little treats.

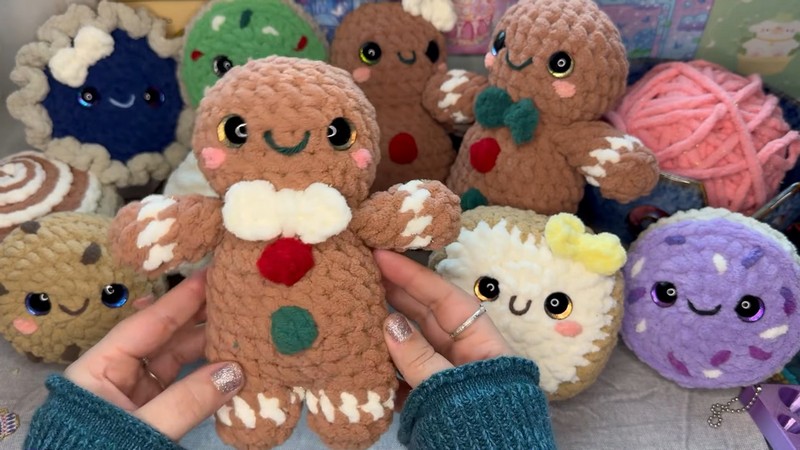
Crochet Christmas Gingerbread Cookie
Each plushie is crafted to capture the essence of the classic gingerbread cookie, blending sweet nostalgia with the cozy warmth of yarn. Get into the holiday spirit with this delightful free Crochet Gingerbread Cookie Plushie Pattern. Use these plushies to decorate your home, bring cheer to your office desk, or delight children and adults alike with a whimsical holiday gift.
How To Crochet Gingerbread Cookie Plushie
Materials Needed
- Bernat Blanket yarn (brown color: Sienna, white sparkly yarn for details)
- 6.5 mm crochet hook
- Yarn needle
- Scissors
- Stitch marker
- Cotton yarn for facial details
- 16 mm safety eyes (Kawaii eyes)
- Polyfill stuffing
- The pattern (available as a PDF)
Creating the Arms
- Magic Circle: Start by making a magic circle.
- Single Crochets: Place eight single crochets into the magic circle for each arm.
- Tighten: Pull the magic circle tight and ignore the starting chain.
- Rows:
- Row 2: Single crochet around for eight stitches.
- Color Change: Do not finish the last stitch. Change to white yarn.
- Subsequent Rows: Single crochet with white for one row, switch back to brown for the next two rows.

Creating the Feet
- Magic Circle: Start with a magic circle, placing ten single crochets into it.
- Rows:
- Row 2: Single crochet around for ten stitches. Change to white yarn.
- Subsequent Rows: Single crochet with white, then switch back to brown.
- Connecting Feet:
- Foot 1: Finish the last stitch, cut the yarn, and set aside.
- Foot 2: Finish the stitch and do not cut the yarn.
- Join: Place the unfinished stitch back on the hook and complete.

Creating the Body
- Increasing Stitches: Follow the pattern, single crochet around, and increase at designated stitches.
- Adding Bobble Stitches:
- Gumdrop Bobble Stitch: Finish with the new color and create the bobble.
- Repeat Bobble Stitches: Add bobbles after specified rows.
- Decreasing: Start decreasing at the neck, following the pattern.

Adding the Arms
- Attach: Insert the hook through both the arm and the body, single crochet to attach.
- Placement: Ensure the arms are placed evenly on both sides.
Creating the Neck and Head
- Neck Increase: Single crochet in the front loop only, then increase.
- Head:
- Single crochet an even number of stitches.
- Add Eyes: Place between rows 17-18, four stitches apart.
- Stuffing: Stuff the head as you crochet.
Final Decrease and Finishing
- Decrease Rows: Follow the pattern decrease, stuffing as needed.
- Close: Fasten off, sew the top shut, and weave in the ends.

Adding Details
- Smile: Using cotton yarn, add a smile with minimal glue to secure.
- Bow Tie: Create a simple bow as an accessory.
Conclusion
Congratulations! You've created a delightful gingerbread cookie plushie ready to spread holiday cheer. This project is a wonderful way to practice and showcase your crochet skills.
Tip
For a more personalized touch, experiment with different yarn colors for the details and eyes, making each plushie unique.


Leave a Reply