
Explore the joy of crocheting with the Crochet Butterfly Boy Amigurumi Pattern. Simple yet engaging, this project transforms yarn into a playful butterfly boy. Great for both novice and expert crocheters.
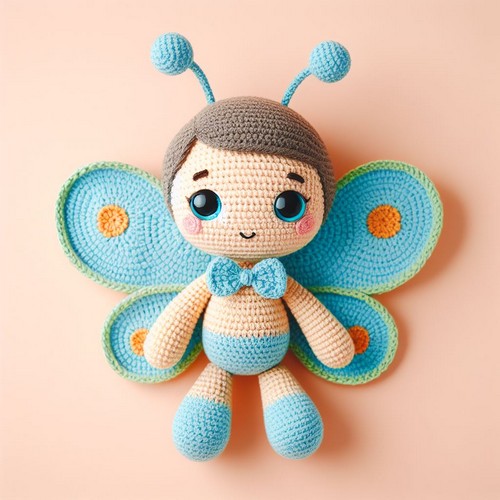
Crochet Butterfly Boy Amigurumi Pattern
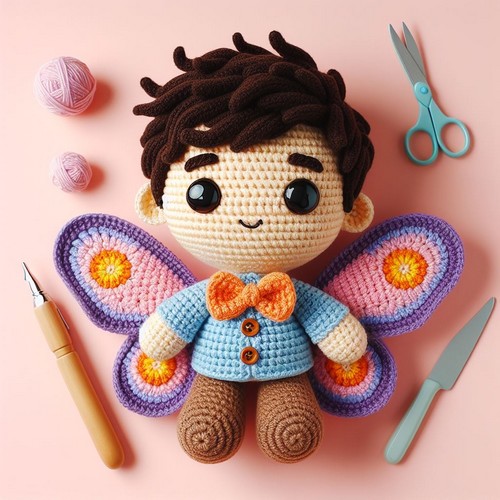
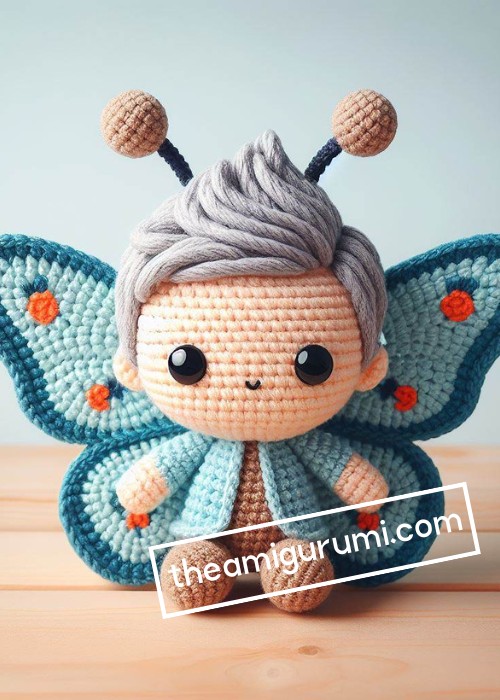
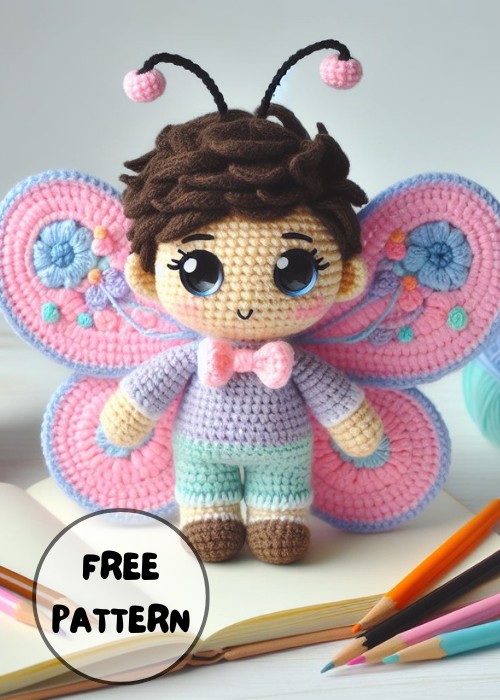
The Crochet Butterfly Boy Amigurumi Pattern offers a unique blend of creativity and craftsmanship. The pattern brings to life a whimsical boy figure adorned in a dazzling butterfly-themed outfit. Vivid, multi-colored wings, playful features, and crafty stitches mark this pattern. Its clear instructions and manageable difficulty level ensure a satisfying crocheting experience.
Making the Butterfly Boy Amigurumi Pattern
Materials:
- Worsted weight yarn in various colors (brown, cream, blue, green, black)
- 4.0 mm crochet hook
- Polyester fiberfill stuffing
- Safety eyes (8mm)
- Tapestry needle
- Stitch markers (optional)
Step by step Pattern
Body:
- Start with brown yarn and make a magic ring.
- Crochet 6 single crochets (sc) into the ring.
- Increase by crocheting 2 sc in each sc around (12 sc).
- Continue crocheting rounds of sc, increasing each round until you have 36 sc.
- Change to cream yarn and crochet 8 rounds of sc.
- Stuff the body firmly with polyester fiberfill.
- Crochet 6 more rounds of sc with cream yarn, then decrease by crocheting 2 sc together in each sc around (18 sc).
- Crochet 2 more rounds of sc with cream yarn and then fasten off.
Head:
- With cream yarn, make a magic ring and crochet 6 sc into the ring.
- Increase by crocheting 2 sc in each sc around (12 sc).
- Crochet 4 rounds of sc.
- Stuff the head lightly with polyester fiberfill.
- Crochet 2 more rounds of SC and then fasten off.
Arms:
- With brown yarn, make a magic ring and crochet 6 sc into the ring.
- Increase by crocheting 2 sc in each sc around (12 sc).
- Crochet 5 rounds of sc.
- Stuff the arm lightly with polyester fiberfill.
- Crochet 2 more rounds of SC and then fasten off.
- Repeat steps 1-5 to make the second arm.
Legs:
- With brown yarn, make a magic ring and crochet 6 sc into the ring.
- Increase by crocheting 2 sc in each sc around (12 sc).
- Crochet 7 rounds of sc.
- Stuff the leg lightly with polyester fiberfill.
- Crochet 2 more rounds of SC and then fasten off.
- Repeat steps 1-5 to make the second leg.
Assembly:
- Sew the head to the body.
- Sew the arms to the body, positioning them slightly below the head.
- Sew the legs to the body, positioning them evenly spaced apart.
- Attach the safety eyes with a tapestry needle and thread.
- Embroider the facial features (mouth, nose) with black thread.
Wings:
- With blue yarn, chain 15 stitches.
- Turn and crochet 14 dc in each chain stitch.
- Turn and chain 15 stitches.
- Slip stitch into the first DC to complete the first wing.
- Repeat steps 1-4 to make the second wing.
- Sew the wings to the back of the body.
Hair:
- Cut strands of green yarn about 6 inches long.
- Using a tapestry needle, thread the yarn through the top of the head to create hair.
- Repeat until the desired hair coverage is achieved.
Bowtie:
- With black yarn, chain 10 stitches.
- Turn and crochet 9 dc in each chain stitch.
- Turn and chain 10 stitches.
- Slip stitch into the first dc to complete the bowtie.
- Sew the bowtie to the front of the body, under the head.


Leave a Reply