
Explore your creativity with the Crochet Bear Amigurumi Pattern! This guide provides detailed steps to create an endearing, handmade bear – an ideal gift or decor piece. Perfect for crochet enthusiasts at every skill level.

Crochet Bear Amigurumi Free Pattern
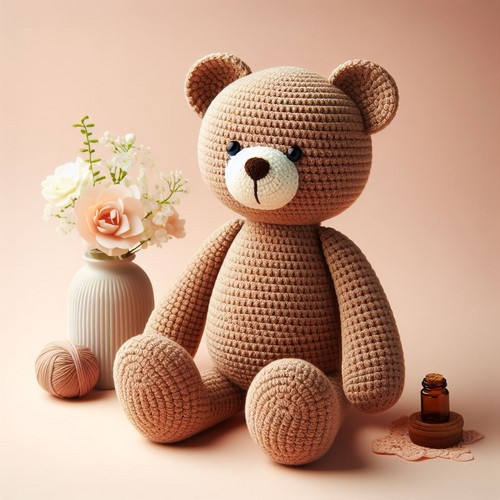
The Crochet Bear Amigurumi Pattern is a charming guide to creating a cuddly bear toy. This easy-to-follow pattern helps you crochet a lovable bear with intricate details like a rounded belly, tiny ears, and a cute snout. Made from plush yarn in warm tones, this handmade bear is perfect for creators of all skill levels looking to add a touch of cozy charm to their plush toy collection.
Making the Crochet Bear Amigurumi
Materials:
- Worsted-weight yarn in brown and black (amount not specified in the pattern, but you’ll likely need around 100 yards of brown and a small amount of black for the facial features)
- Crochet hook size H-8 (5.00 mm)
- 9 mm safety eyes
- Fiberfill stuffing
- Tapestry needle
- Scissors
Gauge:
- Gauge is not specified in the pattern, but it’s important to crochet tightly to create a firm ornament that will hold its shape well.
Finished size:
- Approximately 3 inches tall

Step by step Pattern
Head:
- Start with the magic ring: With brown yarn, make a magic ring and crochet 6 single crochets (sc) in the ring. Do not join.
- Place a stitch marker: Place a stitch marker in the first stitch.
- Crochet around the ring: Sc in each stitch around. Join with a slip stitch (sl st) to the first sc, being careful not to twist. (6 sc)
- First increase round: Increase 6 stitches evenly around. Join with a sl st to the first sc. (12 sc)
- Second increase round: Sc in the next 2 stitches, increase 1 stitch around. Join with a sl st to the first sc. (18 sc)
- Third increase round: Sc in the next 3 stitches, increase 1 stitch around. Join with a sl st to the first sc. (24 sc)
- Rounds without increase: Sc in each stitch around for 3 rounds. (24 sc)
- First decrease round: Sc in the next 4 stitches, decrease 1 stitch around. Join with a sl st to the first sc. (20 sc)
- Second decrease round: Sc in the next 3 stitches, decrease 1 stitch around. Join with a sl st to the first sc. (16 sc)
- Third decrease round: Sc in the next 2 stitches, decrease 1 stitch around. Join with a sl st to the first sc. (12 sc)
- Stuff the head: Stuff the head firmly with fiberfill.
- Final decrease round: Sc in the next stitch, decrease 1 stitch 6 times around. Join with a sl st to the first sc. (6 sc)
- Fasten off: Fasten off, leaving a long tail for sewing.
Ears (make 2):
- Start with the magic ring: With brown yarn, make a magic ring and crochet 4 sc in the ring. Do not join.
- Place a stitch marker: Place a stitch marker in the first stitch.
- Crochet around the ring: Sc in the second chain from the hook and in each remaining chain. Turn. (3 sc)
- Second round: Ch 2, sc in each stitch. Turn. (3 sc)
- Increase round: Increase 1 stitch at each end. Turn. (5 sc)
- Increase round: Sc in the first 2 stitches, increase 1 stitch, sc in the next 2 stitches. Turn. (6 sc)
- Increase round: Sc in the first 3 stitches, increase 1 stitch, sc in the next 3 stitches. Turn. (7 sc)
- Increase round: Sc in around, increasing 1 stitch at each end. Turn. (9 sc)
- Increase round: Sc in the first 4 stitches, increase 1 stitch, sc in the next 4 stitches. Turn. (11 sc)
- Increase round: Sc in the first 5 stitches, increase 1 stitch, sc in the next 5 stitches. Turn. (13 sc)
- Rounds without increase: Sc in around for 3 rounds. (13 sc)
- Decrease round: Sc in the next 2 stitches, decrease 1 stitch around. Turn. (11 sc)
- Decrease round: Sc in the next stitch, decrease 1 stitch around. Turn. (9 sc)
- Decrease round: Sc in the next stitch, decrease 1 stitch around. Turn. (7 sc)
- Decrease round: Sc in the next stitch, decrease 1 stitch around. Turn. (5 sc


Leave a Reply