
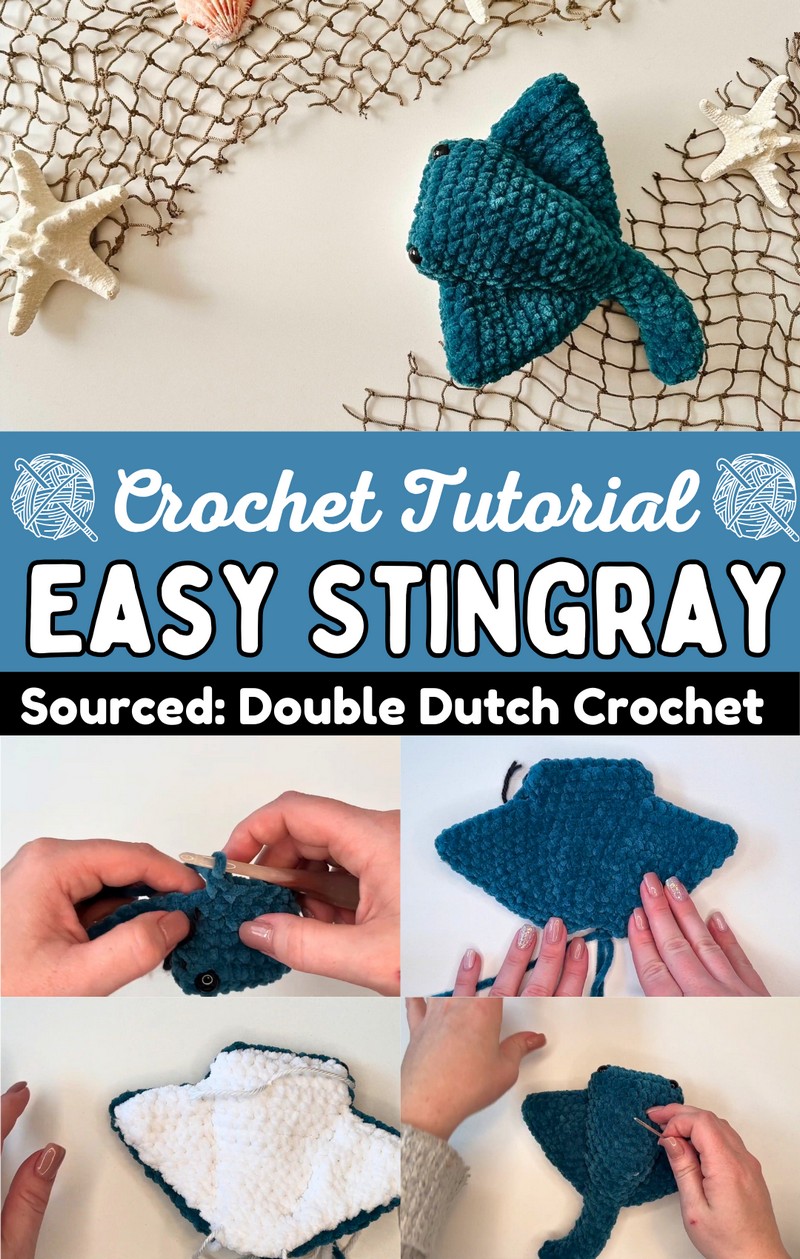
Take the plunge into creativity with this Crochet Easy Stingray Pattern; a delightful project perfect for adding a splash of charm to your collection.
This charming crochet project not only brings a sense of accomplishment but also serves as a wonderful, handmade gift. Its cute design beautifully marries simplicity with creativity, making it perfect for beginners and experienced crocheters alike. This pattern helps in honing your crochet skills while providing a calming, therapeutic activity that can help reduce stress. Apart from being a cute decor item, it can also be a lovely toy for children or a unique collectible.
Visualize producing a delightful little companion with a free, Stingray Amigurumi pattern. Its creation involves a minimal amount of yarn, making it an economical project as well. Perfect for infusing a touch of whimsy into your crafty repertoire, this Stingray Amigurumi promises to delight at every stitch, delivering not just a finished product but also hours of joy and relaxation.
How To Crochet Stingray Amigurumi
Supplies Needed
For today's tutorial, you will need the following:
- Baby snuggle yarn and honey bunny yarn in white and blue
- 5.5 mm crochet hook from Furls Crochet
- 3.75 mm crochet hook from Crochet Society (for weaving in ends)
- Medium weight yarn (color doesn't matter)
- Scissors
- Fabric pins
- Stitch marker
- 12 mm safety eyes in plain black
- Fiber fill

Step by step Pattern
1. Starting the Body
- Step 1.1: Begin with the mouth of the project. Make a slip knot and chain 11.
- Step 1.2: Skip the first stitch and single crochet in the next 10 stitches to form a row.
- Step 1.3: Turn and crochet 10 stitches on the other side of the chain to create an oval.
- Step 1.4: Place a stitch marker at the end of round 2.
- Step 1.5: For rounds 3 and 4, single crochet 20 stitches around the oval.
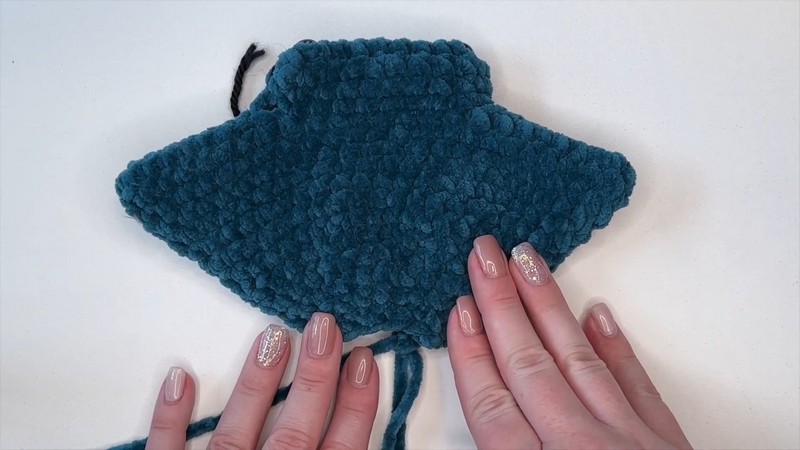
2. Creating the Wings
- Step 2.1: For round 5, single crochet in the first stitch, chain 9 to begin a wing, skip the first chain, and single crochet in the next 8 chains back to the starting point.
- Step 2.2: Single crochet in the next stitch in the body, then single crochet 8 along the body.
- Step 2.3: Repeat the process to create the second wing, then single crochet 10 stitches to finish the round.
3. Increasing and Shaping the Body
- Step 3.1: Round 6 increases to 52 stitches by crocheting around both sides of each wing.
- Step 3.2: Place the safety eyes between rounds 2 and 3.
- Step 3.3: Continue rounds 7-12 with a combination of single crochets and decreases to shape the body down to fewer stitches per round.
4. Forming the Tail
- Step 4.1: Starting from round 13, decrease to shape the body.
- Step 4.2: Proceed through rounds 13-17 to continue shaping and decreasing stitches until only a few remain.
5. Creating the Belly Plate
- Step 5.1: Chain 11 to start the belly plate, and work in rows, not rounds.
- Step 5.2: Single crochet 10 stitches, chain 1, and turn. Repeat for three more rounds.
- Step 5.3: Chain 9 to create the bell plate wings, then crochet down and across both wings until complete.
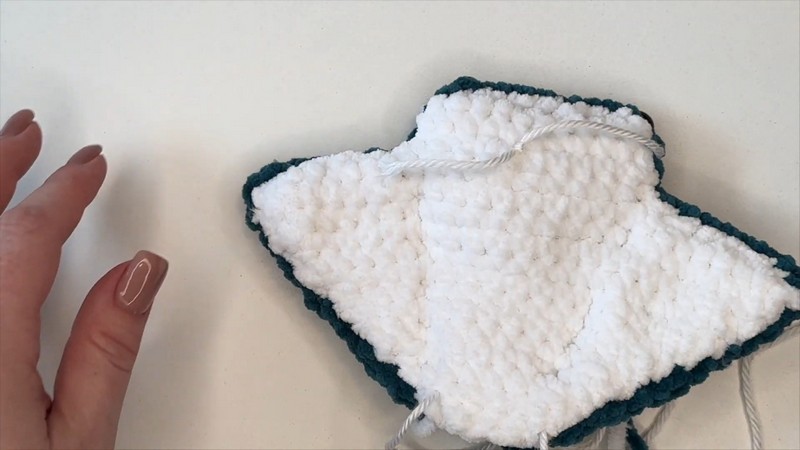
6. Assembling and Stuffing
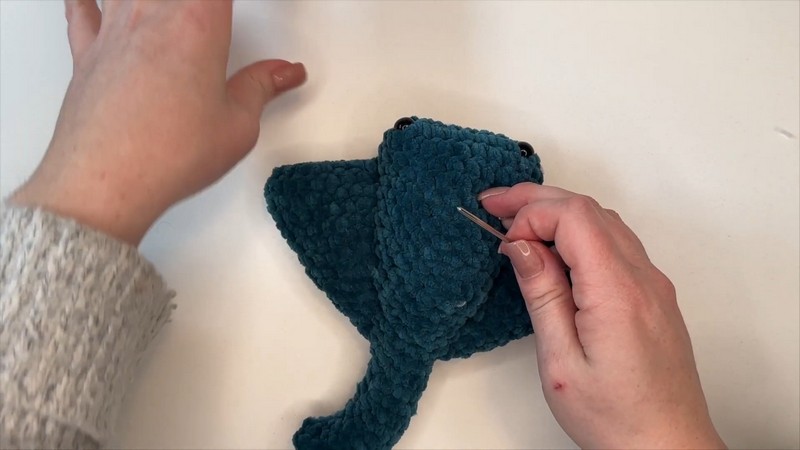
- Step 6.1: Sew the belly plate onto the body, starting at the top and working around the edges, leaving the last round open.
- Step 6.2: Stuff the body and shape the wings by sewing down the sides.
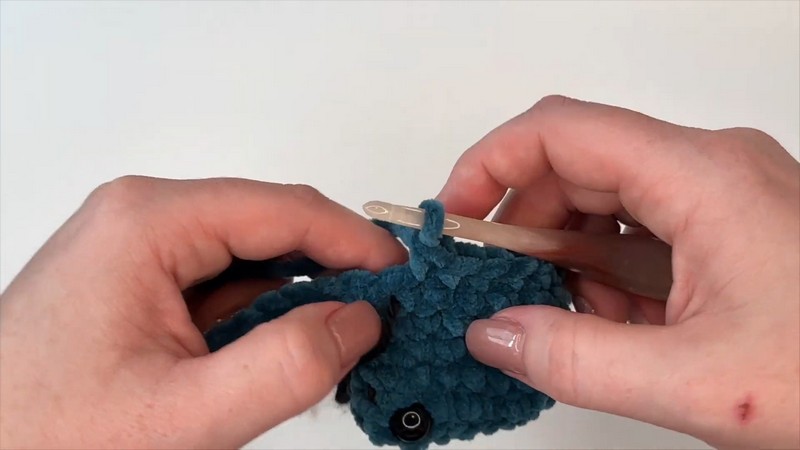
- Step 6.3: Crochet the final rounds of the tail, continuing to stuff as you go.
7. Final Steps
- Step 7.1: Decrease stitches in the final tail rounds until the tail is sealed.
- Step 7.2: Weave in all ends, tighten any areas needed, and shape the tail as preferred.
- Step 7.3: Secure the tail by weaving in the yarn into the body.
Conclusion
So that’s how you make Stanley the Stingray! This pattern works up quickly and is a great way to learn new crochet skills.


Leave a Reply