
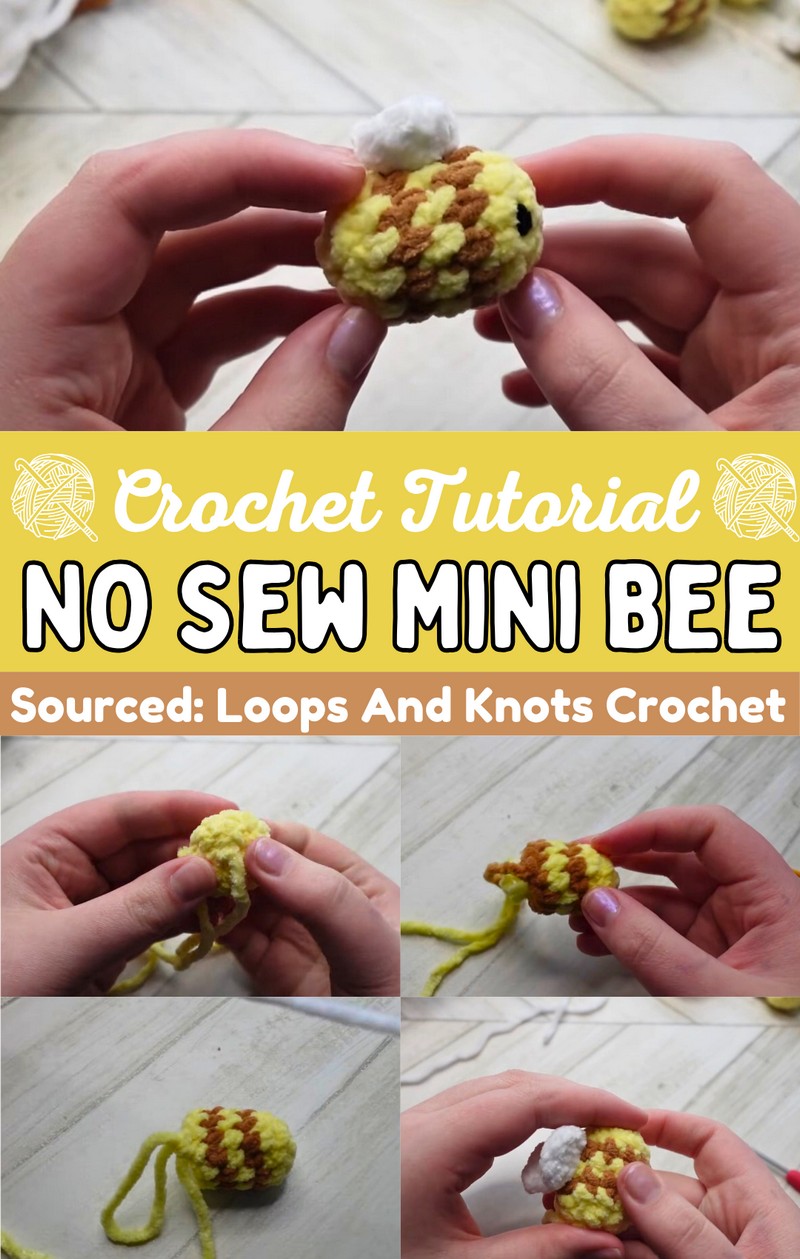
Bring smiles with the free Crochet No-Sew Mini Bee Pattern, a quick and adorable project perfect for adding whimsy to your home or gifting to loved ones.
Enter a realm where creativity meets simplicity with the free Crochet No-Sew Mini Bee Pattern. This delightful little project offers crafters of all levels a charming way to bring personality and cheer to any space. Perfect as a quick gift, a whimsical addition to your workspace, or even a playful companion for children, the mini bee pattern enables you to crochet without the hassle of sewing parts together. Its no-sew feature makes it an ideal choice for beginners and those seeking a fast and satisfying project.
The pattern beautifully combines practicality with artistic flair, resulting in an adorable bee that embodies joy and creativity. Not only does this tiny bee stand as a testament to the joy of handmade wonders, but it also serves as a reminder of the beauty found in simplicity. Whether for home décor or a personalized gift, this mini bee is sure to bring smiles and warmth.
How to Crochet a Mini Bee
Materials Required
- Three yarn colors (I'm using Big Twist Baby Bear)
- Some white yarn for the wings
- Primary color (yellow) and secondary color (brown)
- Black yarn or safety eyes for the eyes
- Pair of scissors
- Sewing needle
- 3.5 mm crochet hook
- Stuffing

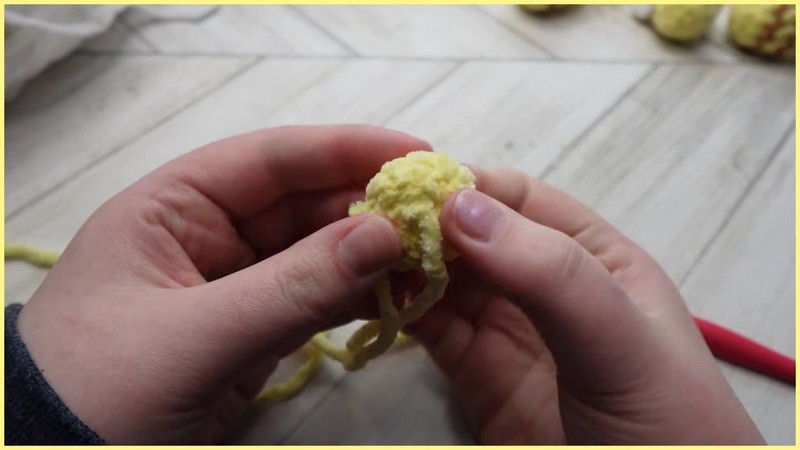
Starting the Crochet
- Begin with your primary color (yellow).
- Use your preferred method to start your round, either magic ring or chain two method.
- Single crochet into the magic ring six times.
- Close the magic ring.
Rounds
Round 2
Increase Round:
- Single crochet two stitches into each stitch (total 12 stitches).
Round 3
Single Crochet Round:
- Single crochet into each stitch around.
Securing the Inside End
- Thread the needle.
- Pick up one random loop and create another loop.
- Slip the needle under that loop, repeat two or three times.
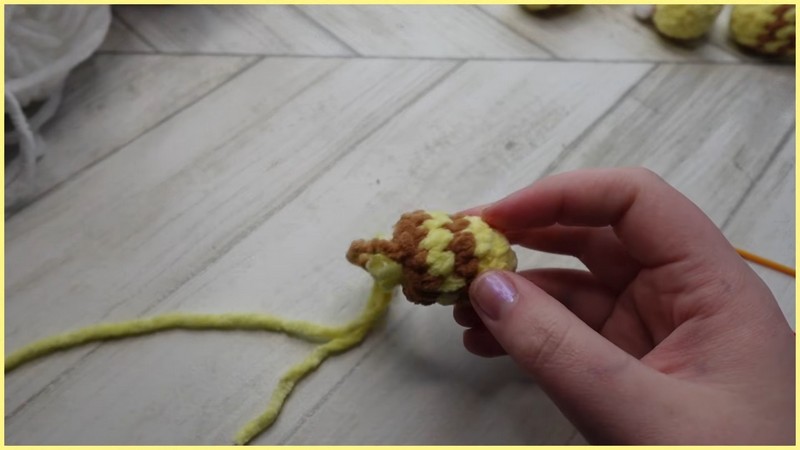
Color Changing Technique
- Slip stitch into the next stitch.
- Chain one and pull up a loop (not too large or small).
- Insert the hook into the stitch next to the slip stitch.
- Using secondary color (brown), put it over the hook and pull it through.
- Single crochet into the slip stitch and continue single crochet in each stitch around.
- Single crochet into the stitch where you pulled up the loop.
- Slip stitch into the next stitch, chain one, and pull up a loop.
- Repeat the color-changing process two more times.
- Fasten off the color.
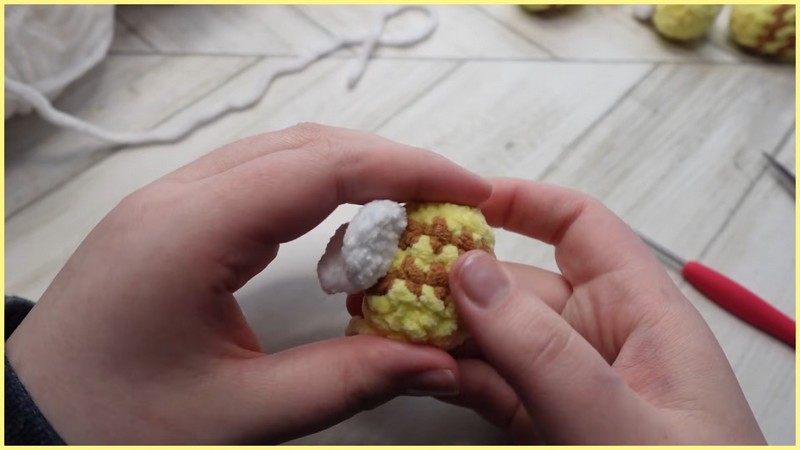
Adding Wings
- Use white yarn.
- Create a slip knot onto your hook.
- Slip stitch between the middle single crochet rounds of the yellow.
- Chain two and place three double crochets into the same stitch.
- Chain two and slip stitch into the same stitch.
- Turn your work, slip stitch into the next stitch, and repeat the wing process.
- Fasten off the white yarn and secure the ends.
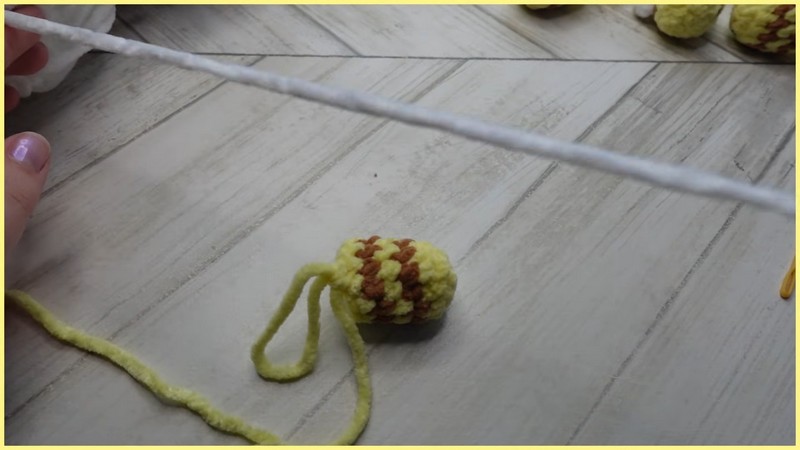
Closing the Bee
- Decrease six times in the final round.
- Halfway through, stuff the bee firmly.
- Slip stitch, chain one, and fasten off leaving a tail.
- Using a sewing needle, gather all front loops, pull tight, and secure with a knot.
- Weave in all ends.
Embroidering the Eyes
- Use black yarn to create loops for the eyes.
- Secure the ends and weave them in.
- You can do this step after finishing the bee entirely.
Conclusion
That’s how you crochet a tiny bee! I hope you enjoyed this tutorial and found it helpful. If you make your own bees, you can choose what colors and yarns you wanna use.


Leave a Reply