
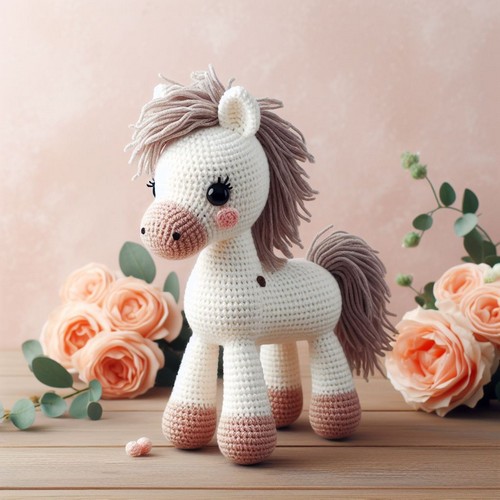
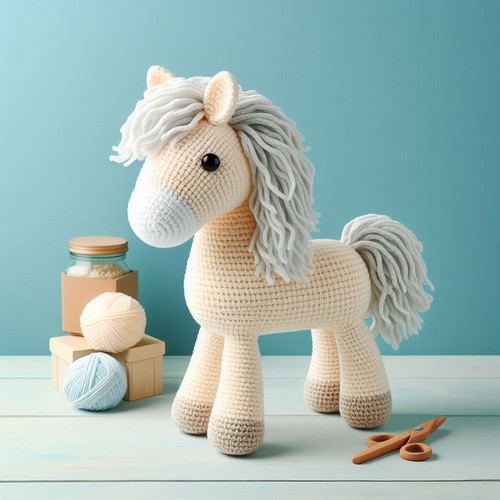
The Crochet Horse Amigurumi Pattern is an enchanting, uncomplicated scheme to create an adorable horse toy. Perfect for all skill levels, it promotes a delightful crochet quest, leading to a handcrafted, appealing memento.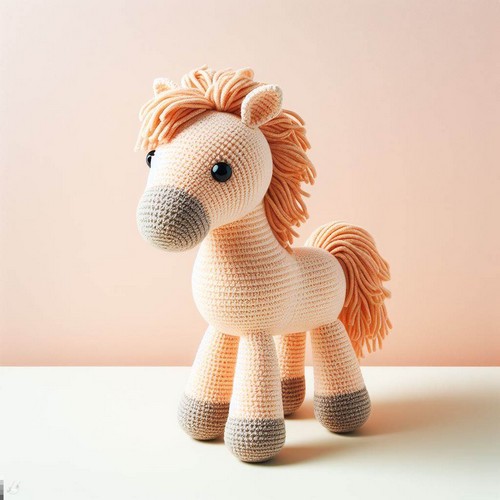
Crochet Horse Amigurumi Pattern
Introducing the charming Crochet Horse Amigurumi Pattern, designed to bring joy and creativity to your crocheting experience. This lovely handmade creation boasts a delightful appearance, featuring intricate stitchwork and cute button eyes. The amigurumi pattern provides easy-to-follow instructions, making it perfect for beginners and experts alike. Under 400 characters in length, it's your go-to guide for a heartwarming crochet project that's sure to impress.

Making the Crochet Horse Amigurumi
Materials:
- Crochet hook in size H (5 mm)
- Orange yarn
- Black yarn
- White yarn
- Safety eyes
- Fiberfill
- Tapestry needle
- Scissors
Gauge:
- 18 stitches x 14 rows in single crochet = 4 inches x 4 inches
Step by step Pattern
Body:
- Start with a magic ring and crochet 6 single crochets into the ring. Tighten the ring and crochet 2 single crochets into each stitch around. You should now have 12 stitches.
- Continue crocheting in a single crochet, increasing 6 stitches evenly around each round. Crochet a total of 18 rounds.
- Stuff the body with fiberfill.
- Fold the bottom of the body up and crochet the sides together using a single crochet.
Head:
- Start with a magic ring and crochet 6 single crochets into the ring. Tighten the ring and crochet 2 single crochets into each stitch around. You should now have 12 stitches.
- Crochet 6 rounds in single crochet, increasing 6 stitches evenly around each round.
- Crochet 3 rounds in single crochet, increasing 3 stitches evenly around each round.
- Crochet 3 rounds in single crochet, increasing 1 stitch evenly around each round.
- Crochet 4 rounds in a single crochet.
- Stuff the head with fiberfill.
- Crochet the top of the head closed using a single crochet.
Ears:
- Start with a magic ring and crochet 6 single crochets into the ring. Tighten the ring and crochet 2 single crochets into each stitch around. You should now have 12 stitches.
- Crochet 4 rounds in single crochet, increasing 6 stitches evenly around each round.
- Crochet 4 rounds in single crochet, increasing 3 stitches evenly around each round.
- Crochet 4 rounds in single crochet, increasing 1 stitch evenly around each round.
- Crochet 3 rounds in a single crochet.
- Slip stitch the ear closed.
- Repeat steps 1-6 to make the other ear.
Legs:
- Start with a magic ring and crochet 6 single crochets into the ring. Tighten the ring and crochet 2 single crochets into each stitch around. You should now have 12 stitches.
- Crochet 6 rounds in single crochet, increasing 6 stitches evenly around each round.
- Crochet 6 rounds in a single crochet.
- Stuff the leg with fiberfill.
- Crochet the bottom of the leg closed using a single crochet.
- Repeat steps 1-5 to make the other leg.
Tail:
- Start with a chain of 20 stitches.
- Single crochet in the second chain from the hook and in each stitch to the end of the chain.
- Chain 2, turn, and single crochet in each stitch to the end of the chain.
- Repeat rows 2 and 3 until the tail is as long as you like.
- Stuff the tail with fiberfill.
- Sew the tail to the body.
Assembly:
- Sew the head to the body.
- Sew the ears to the head.
- Sew the legs to the body.
- Sew on the safety eyes.
- Embroider the nose and mouth with black yarn.
Tips:
- If you are having trouble keeping track of your increases, you can use a stitch marker to mark the first stitch of each round.
- Be sure to stuff the body and head firmly so that the fox keeps its shape.
- You can use any color of yarn you like to make your fox.
- If you don't have safety eyes, you can embroider the eyes instead.


Leave a Reply