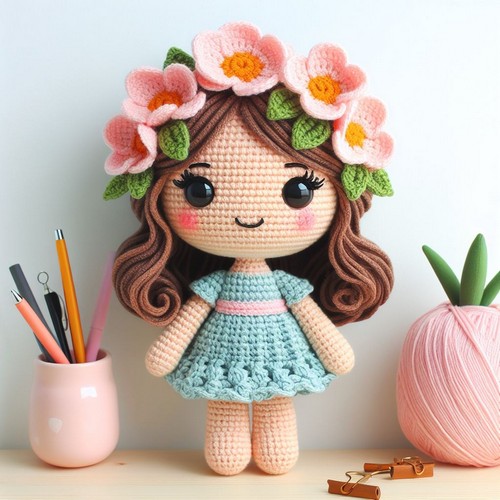
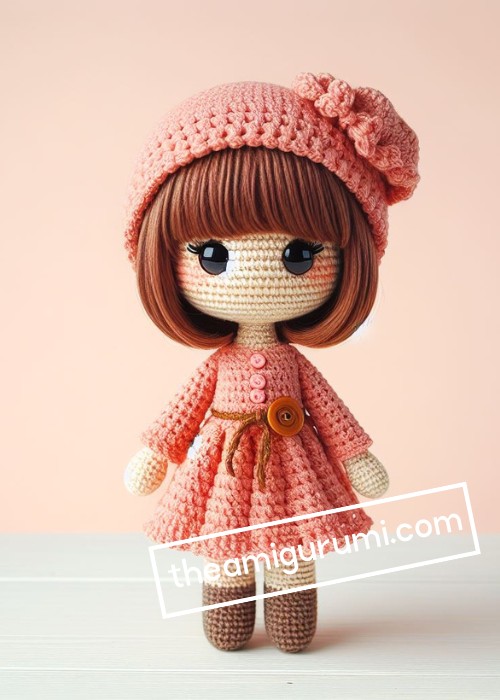
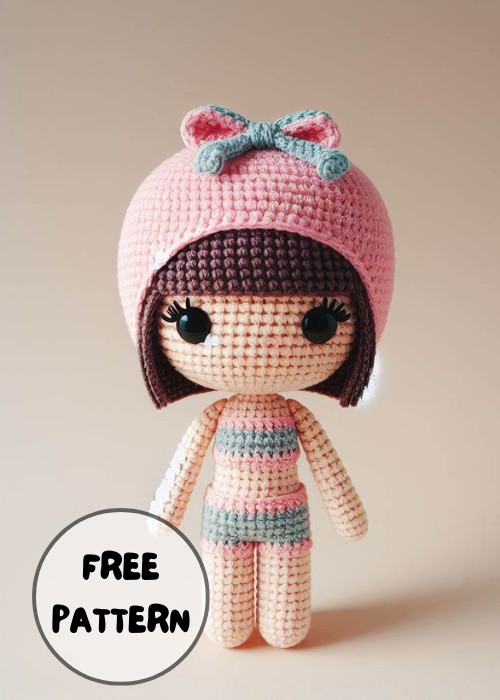
The Crochet Sara Doll Amigurumi Pattern offers a way to create a captivating, handmade doll, Sara. Great for DIY fans, the pattern is easy to follow for a gratifying project. Craft Sara as a charming gift or delightful home decor.

Crochet Sara Doll Amigurumi Pattern
The Crochet Sara Doll Amigurumi Pattern is a delightful guide to creating a charming doll with a sweet dress and soft, yarn hair. Boasting simple instructions for her friendly face and cozy accessories, this pattern is ideal for gifting or keepsakes. It's a fun and heartwarming crochet project for all ages.

Making Your Crochet Sara Doll Amigurumi
Materials Needed:
- Crochet hook (size appropriate for your yarn)
- Yarn in skin color, hair color, dress color, and any other colors needed for accessories
- Safety eyes or black yarn for eyes
- Fiberfill stuffing
- Yarn needle
- Stitch markers
- Scissors
Crochet Abbreviations:
- ch: chain
- st: stitch
- sc: single crochet
- inc: increase (2 sc in the next st)
- dec: decrease (sc next 2 sts together)
- sl st: slip stitch
- ( ): repeat whatever is between the brackets the number of times stated
- [ ]: total number of stitches

Step by step Pattern
Head
Start with a magic ring.
Round 1: 6 sc in magic ring [6]
Round 2: inc in each st around [12]
Round 3: (sc in next st, inc in next st) around [18]
Continue increasing rounds until you get the head size you want.
Work even sc rounds for the length of the head.
Start decreasing rounds until the opening is small enough to insert the safety eyes and begin stuffing.
Finish decreasing, stuff fully, and close the opening.
Body
Begin with a magic ring.
Work similarly as the head for the first few rounds with increases.
Once the desired width is achieved, work even until the body reaches the length you wish.
Begin decreases to shape the bottom of the body.
Stuff before fully closing, and leave a tail for attaching the head.
Arms (Make 2)
Start with a magic circle.
Work a few rounds with increases, and then proceed with even rounds.
Start decreasing to shape the hands. Optionally add fingers by slip-stitching a few small chains.
Leave a long tail for sewing onto the body.
Legs (Make 2)
Begin with the color of the shoes, forming a magic ring.
Work increases to form the base of the shoe, then changes color for the socks or legs.
Continue with an even round for the leg's length, and finish with decreases if needed for shape.
Stuff lightly and leave a long tail for attaching to the body.
Hair
The hair can be created by attaching yarn strands to the head or crocheting a hair cap.
For a hair cap, begin with a magic ring in hair color and increase until it fits the head.
Add details like bangs, curls, or ponytails as desired.
Dress
Crochet a chain that fits around the doll's waist and joins to form a ring.
Work in rounds to create the skirt part of the dress, increasing as necessary for flare.
Crochet the bodice with no increases to fit the torso snugly.
Add sleeves or straps depending on the design.
Attach to the body along with any embellishments like buttons or lace.
Assembly
Sew the head onto the body with a yarn needle and yarn tail.
Attach arms and legs to the body.
Sew on the hair cap or attach strands of hair to the head as needed.
Optionally, embroider facial features like the mouth or nose if not using safety features for these.
Finishing Touches
Weave in all loose ends.
Add any desired accessories like hats, scarves, or bags.
If desired, use blush makeup or crayon to give the cheeks a bit of color.


Leave a Reply